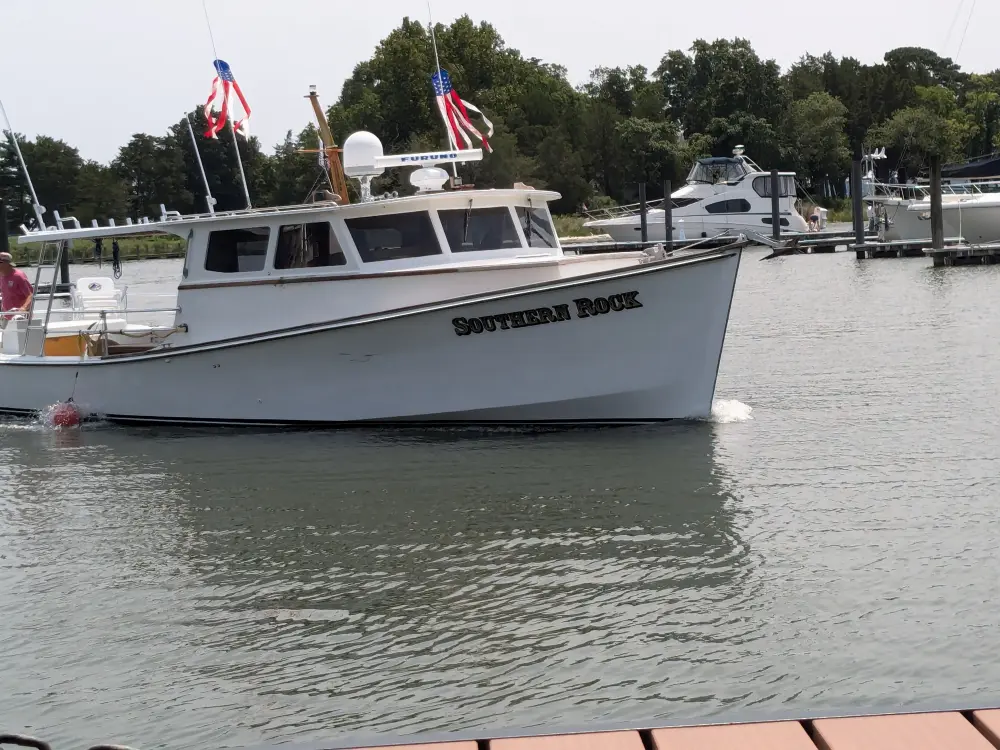
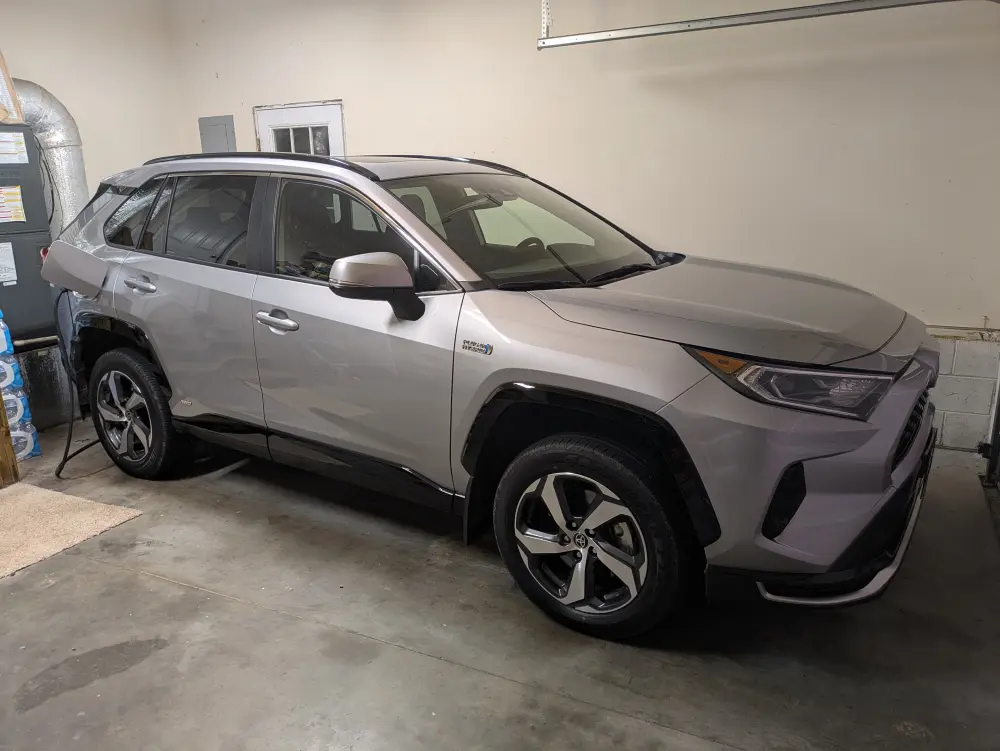
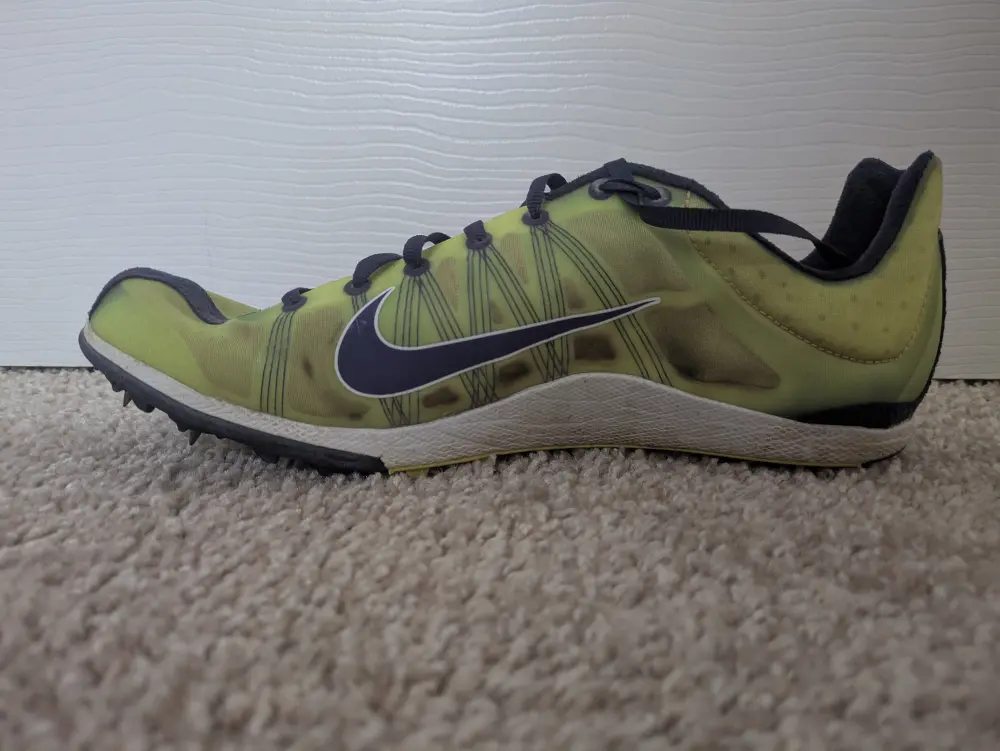
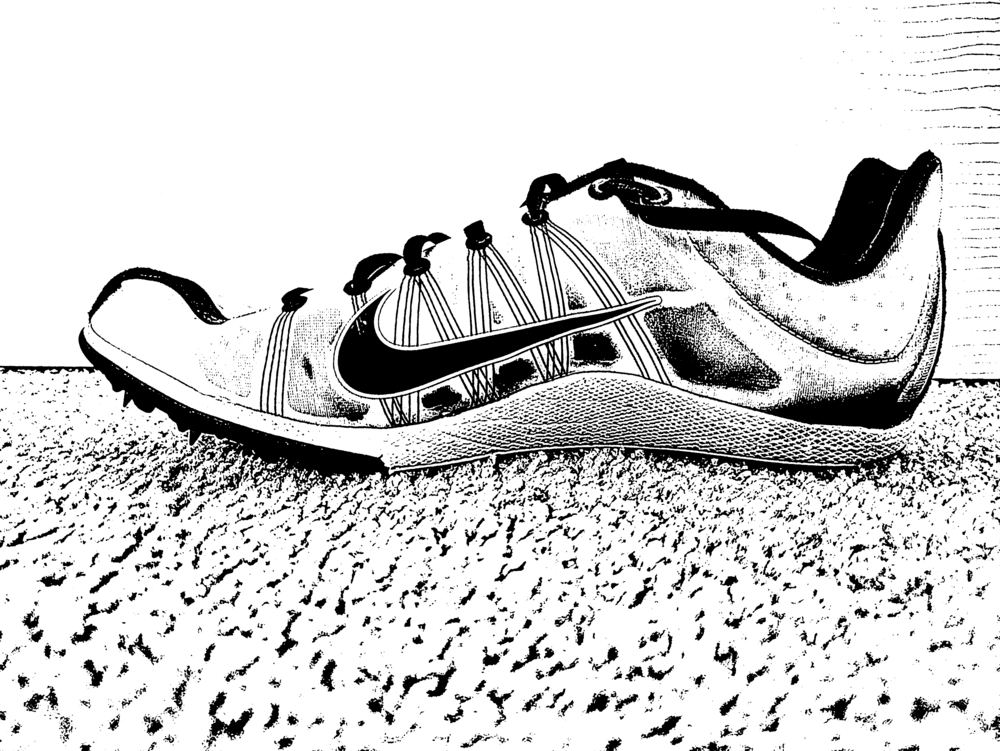
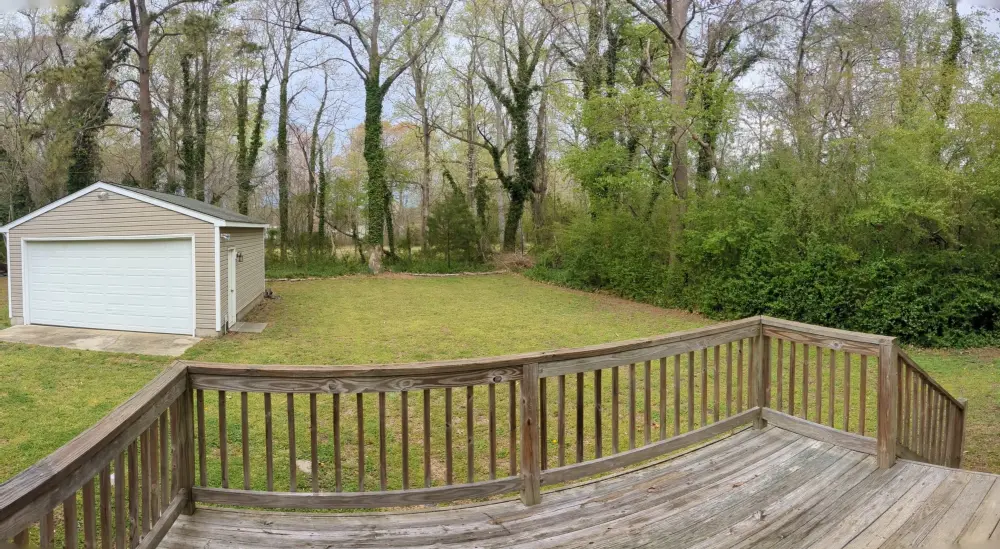
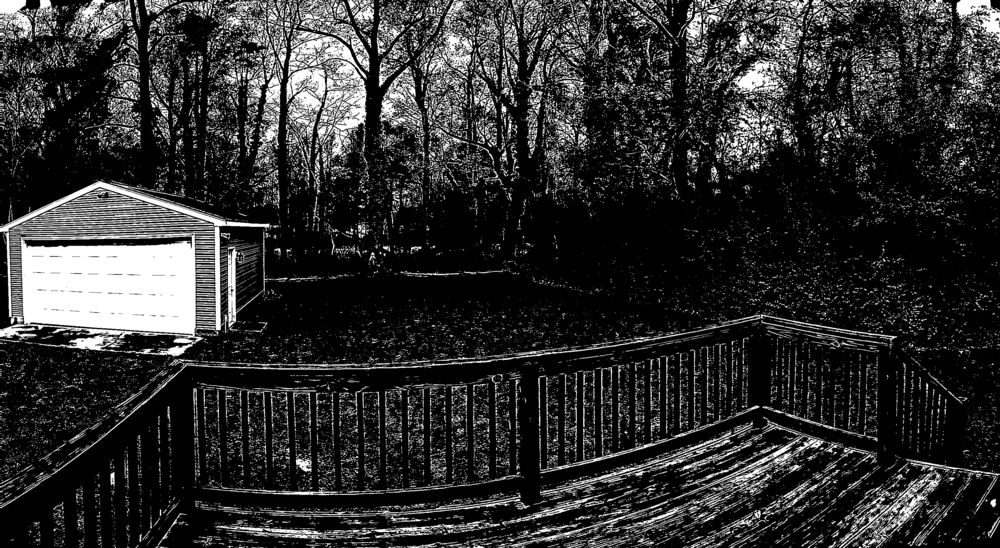
DoG Studio
Configurable sketch-ification of images and videos on your local device.
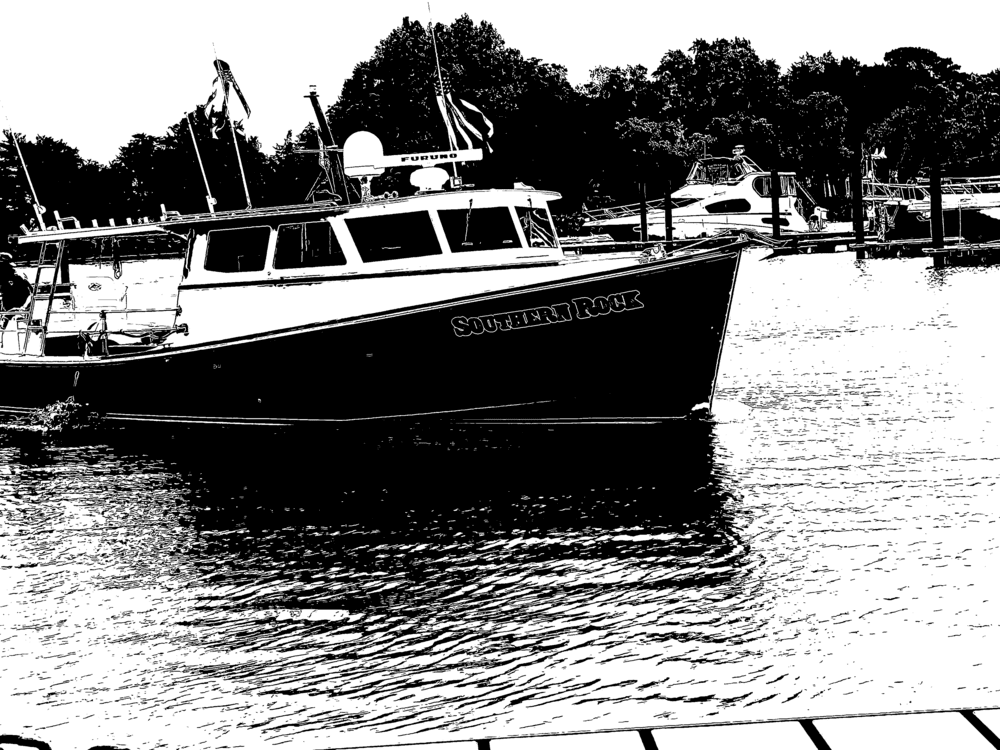
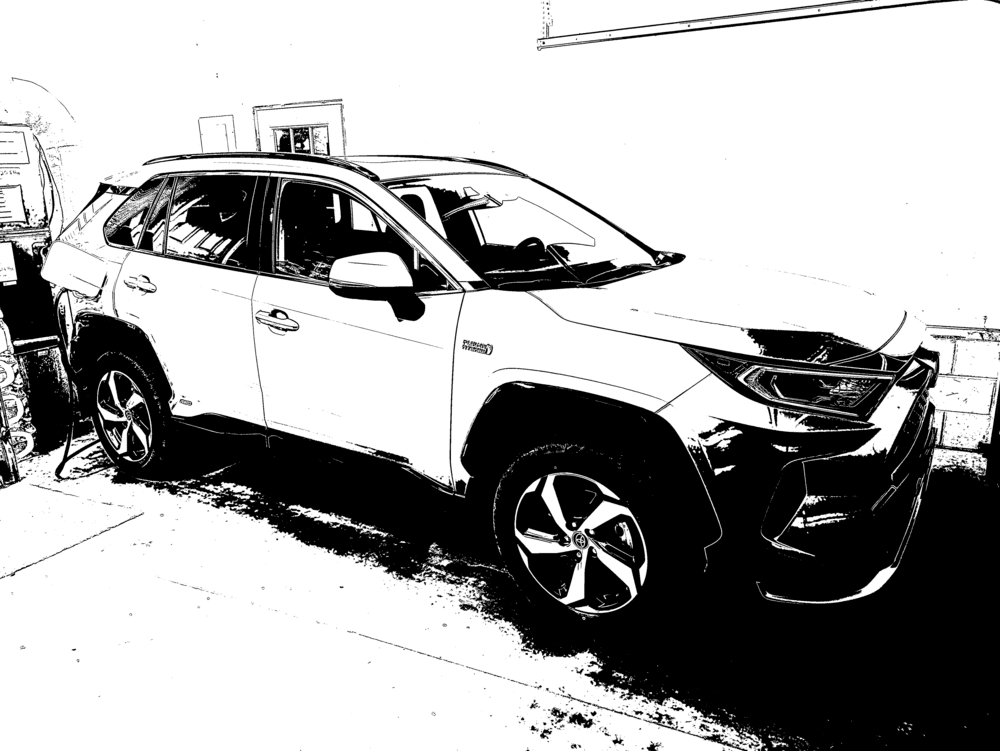
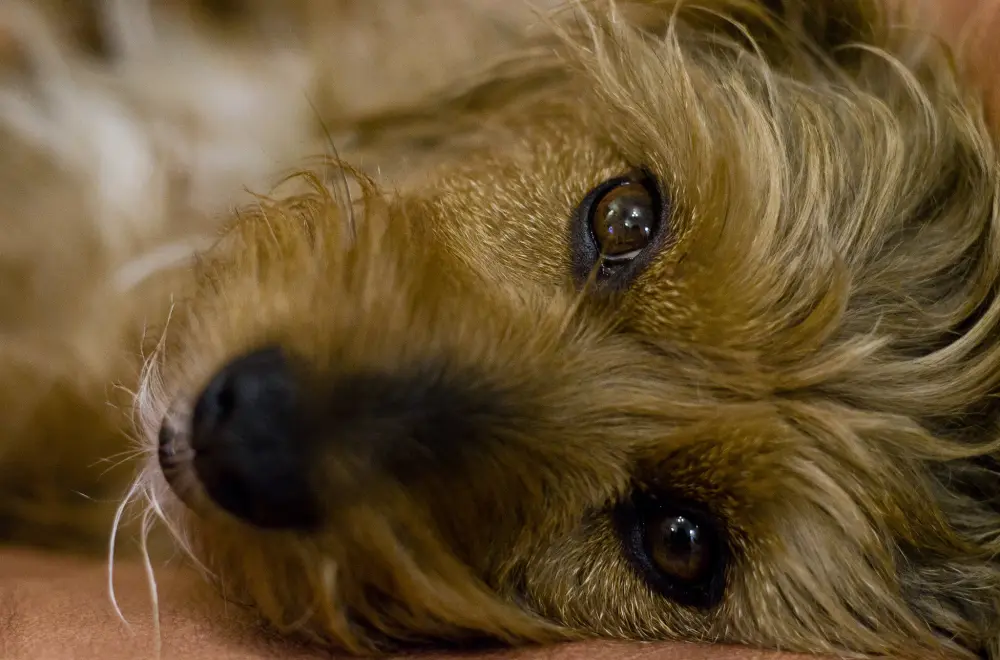
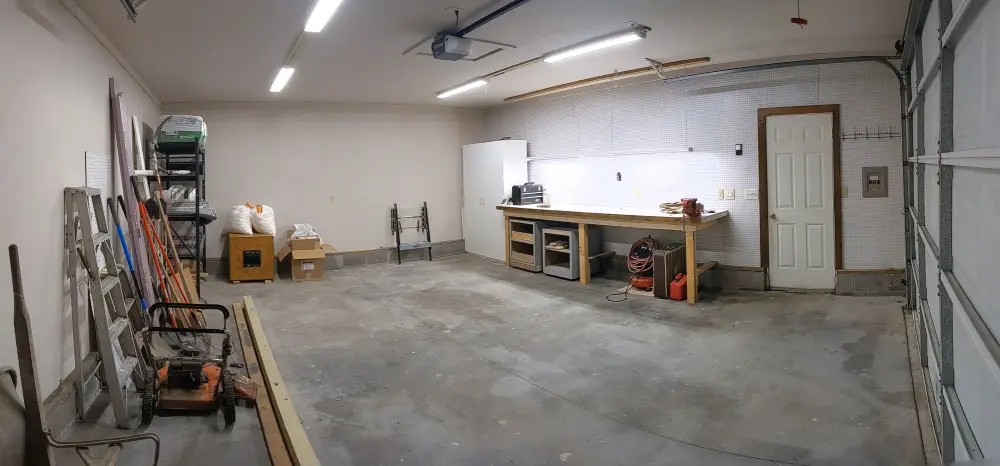
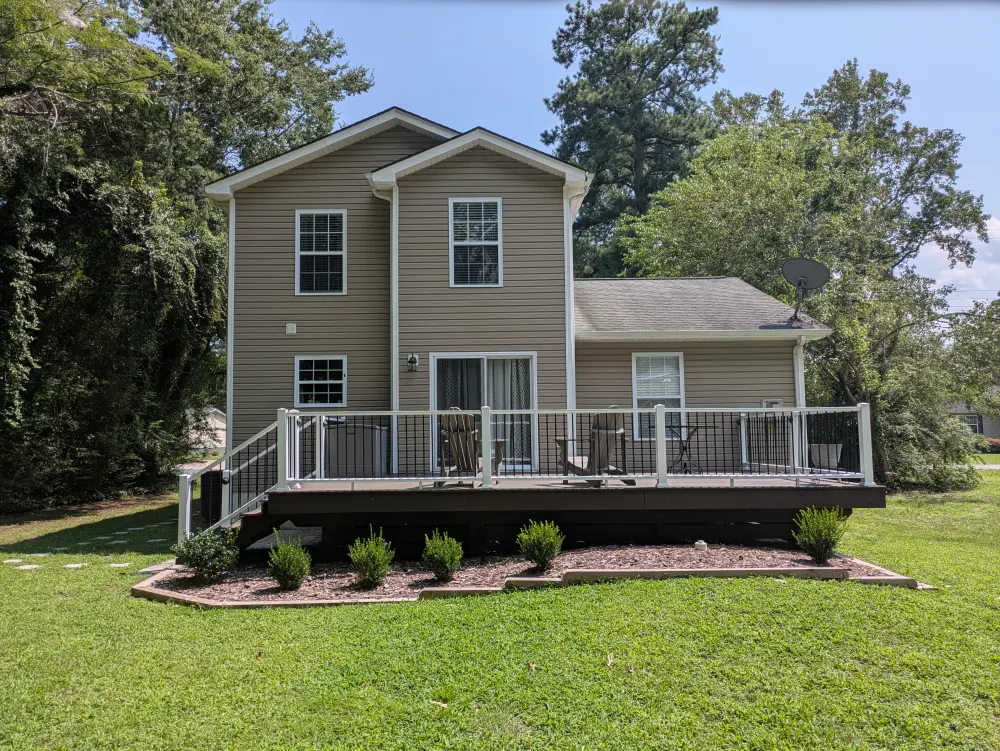
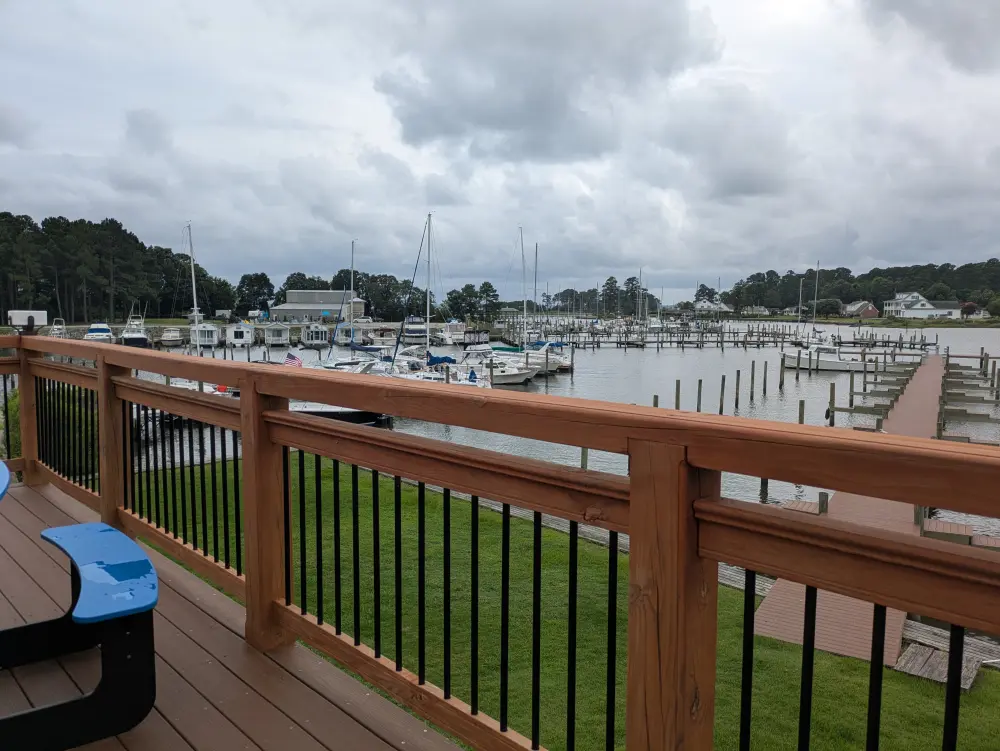
DoG Studio implements a family of Difference-of-Gaussians image binarization techniques from computer graphics research, as a free, GPU-accelerated tool that runs entirely in your browser.
XDoG
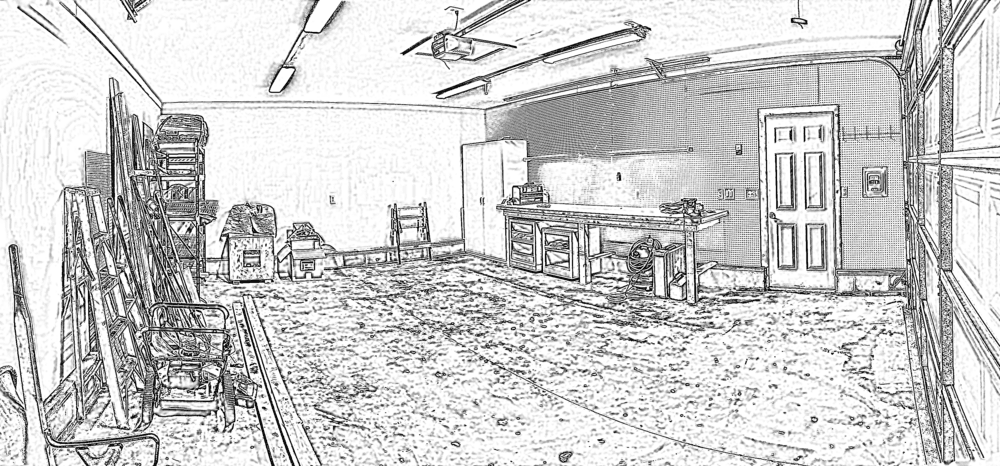
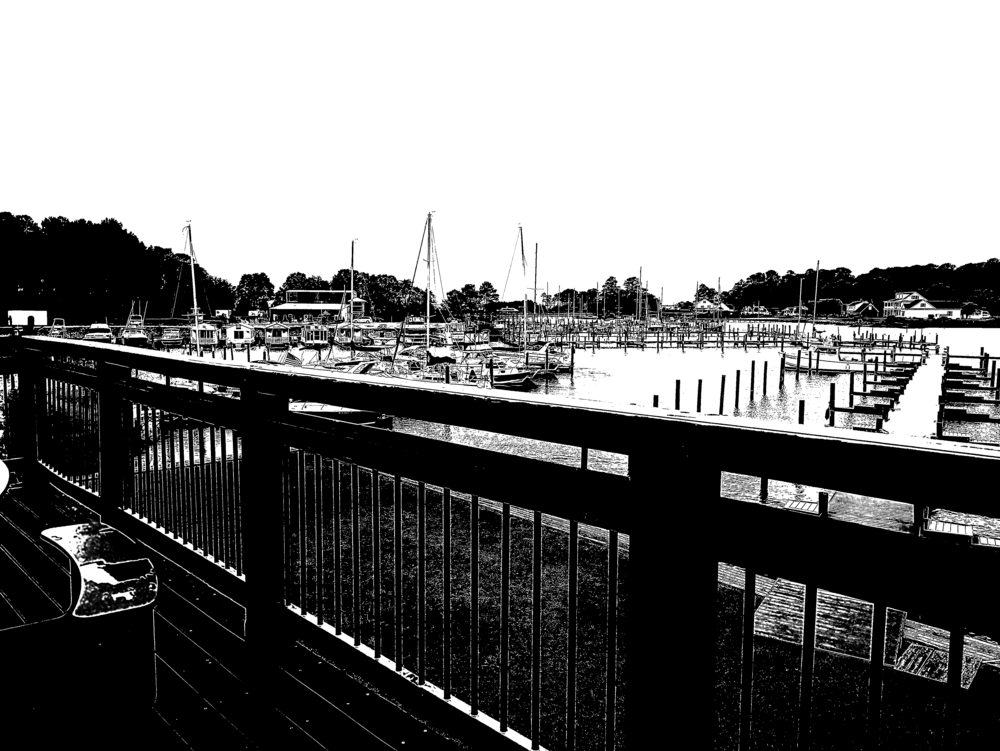
Fast edge detection, pure line output.
FDoG
Flow-aligned edges that stay coherent and clean instead of fragmenting in noisy or textured regions.
ADoG
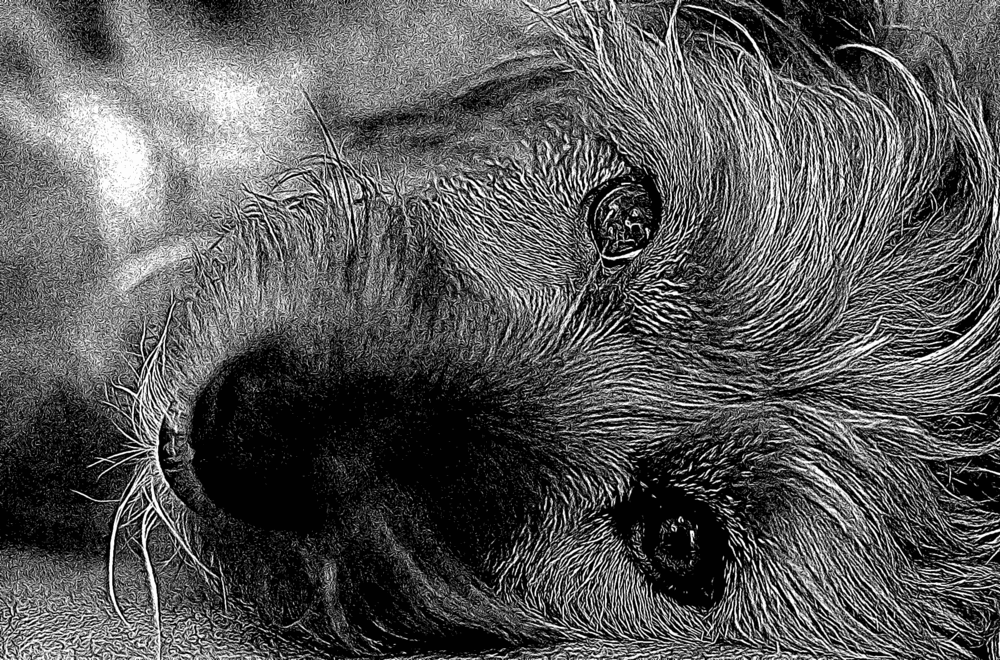
Adaptive tone/shading, generating screentone-style dot density that automatically gets denser in dark areas.
HDoG
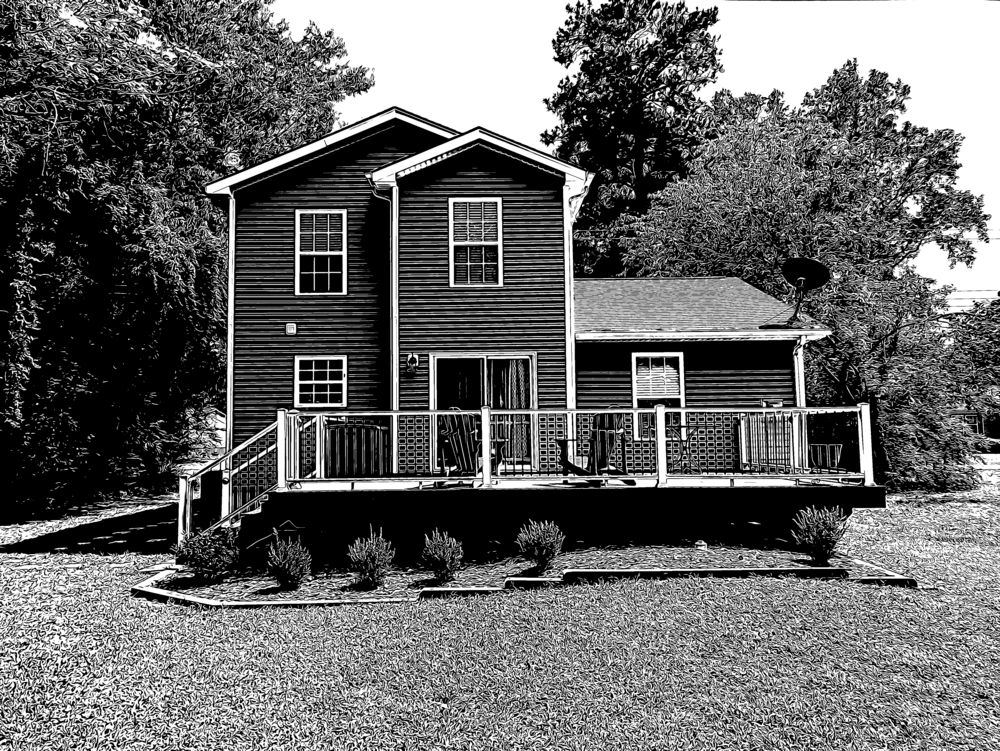
Combines FDoG lines and ADoG tone into a single result that resembles hand-drawn pen-and-ink illustration.
No server ever sees your image. No signup. No watermark. No limit on how many times you run it.
I originally built this to help myself learn to draw, and kept extending it as I found more uses for it.
Most "photo to sketch" tools give you one fixed look. DoG Studio exposes the actual parameters researchers use to control the effect (e.g. Gaussian scale, contrast sensitivity, edge coherence, tone density) so you can dial in exactly the style you want instead of accepting a single preset.
You can also stack layers with blend modes. HDoG itself is really just an FDoG layer and an ADoG layer combined. DoG Studio generalizes that idea so you can nest as many layers as you want: an FDoG pass for structure, an ADoG pass for midtones, a second ADoG pass at a larger scale just to fill in the darkest shadows, all blended together and tuned independently.
And because it's GPU-accelerated and parametric rather than a black-box neural filter, changes preview in real time and produce the same result every time you run them.
Printable / cuttable / engravable line art
FDoG and HDoG output is clean, binary black-and-white, which is exactly what a laser engraver, wood burner, vinyl cutter, or CNC router wants. Tune the Gaussian scale to match your tool's line width, and you're ready to cut.
Coloring book pages
Run FDoG alone (lines, no shading) to turn any photo into a clean outline ready to color in (ex. kids' books, adult coloring pages, or line-art templates for tracing).
Manga and comic screentone
ADoG produces a dot-density pattern that behaves like traditional manga screentone, automatically getting denser in shadows. Use it as a shading layer under your own inked linework.
Stipple and pointillism-style art
ADoG's tone-adaptive dot placement mimics stippling. Rotationally symmetric Gaussian kernels keep dot spacing regular even in busy, noisy image regions, so the result reads as intentional rather than random noise.
Tattoo stencils, and reference art
HDoG's clean separation of line and shading makes a solid starting stencil from a reference photo, without the fuzziness of a generic sketch filter.
Portraits and pen-and-ink illustration
HDoG is designed to mimic professional pen-and-ink illustration. It combines coherent contour lines with adaptive shading in one pass.
Several of the outputs are more useful as a starting layer for drawing/illustrating than as a finished image:
- Sketch/underpainting guide. Run FDoG on a reference photo for a clean, coherent contour map (not the fragmented noise you get from raw edge detection on textured photos), then paint or trace over it as a loose armature instead of eyeballing proportions.
- Value/shadow mapping ADoG's tone-adaptive dot density works as a free posterized shadow map, showing where dark masses fall before you start rendering.
- Layered underlays Export an FDoG line layer and an ADoG tone layer separately, and bring each into Procreate, Photoshop, or Clip Studio as its own reference layer.
- Procedural, reproducible passes The effect is parametric rather than a diffusion or neural filter, you get consistent results across a whole batch. This is useful for game asset pipelines, animation frames, or any workflow that needs the same style applied repeatedly and predictably.
If you work with Stable Diffusion, ComfyUI, or Automatic1111, DoG Studio's line and tone maps work as conditioning input the same way Canny, HED, or Lineart preprocessors do, but with edge-tangent-flow smoothing that keeps lines coherent instead of the fragmented, noisy edges you get from raw Canny on a textured photo.
- Export an FDoG pass as a Lineart/Scribble-style ControlNet input for structure-preserving img2img
- Export ADoG separately as a soft tone/shading conditioning map
- Feed both into a multi-ControlNet stack for tighter control than a single preprocessor gives you
- Tune parameters (σ, ρ, φ) and lock them for consistent conditioning across a whole batch. This is useful for character sheets or frame-by-frame consistency
- No local Python, ComfyUI install, or GPU setup required. you can generate the conditioning map in your browser and drop it straight into whatever pipeline you're already running, local or hosted
Most of the time I'm using DoG Studio to get a "good enough" sketchified base, then exporting it into SketchBook Pro on my tablet to actually finish the piece: emphasize the parts I want, delete texture or detail I don't, and add color by hand from there.
I lean on blending a lot more than nesting. My usual move is running several DoG instances at different sigma values in the same stack, one tuned for high-level shapes, one for mid-sized features, one for fine detail, then blending them together instead of trying to get one configuration to do everything at once. Nested layers come up occasionally when I need to combine two already-blended stacks, but it's the exception rather than the rule.
If I can't get a look I want inside the app, I'll export each layer separately instead of blending them here, and use masks in SketchBook to pull the specific details or components I want from each one.